
Clay Pot Wedding Table Numbers: A How-To Guide

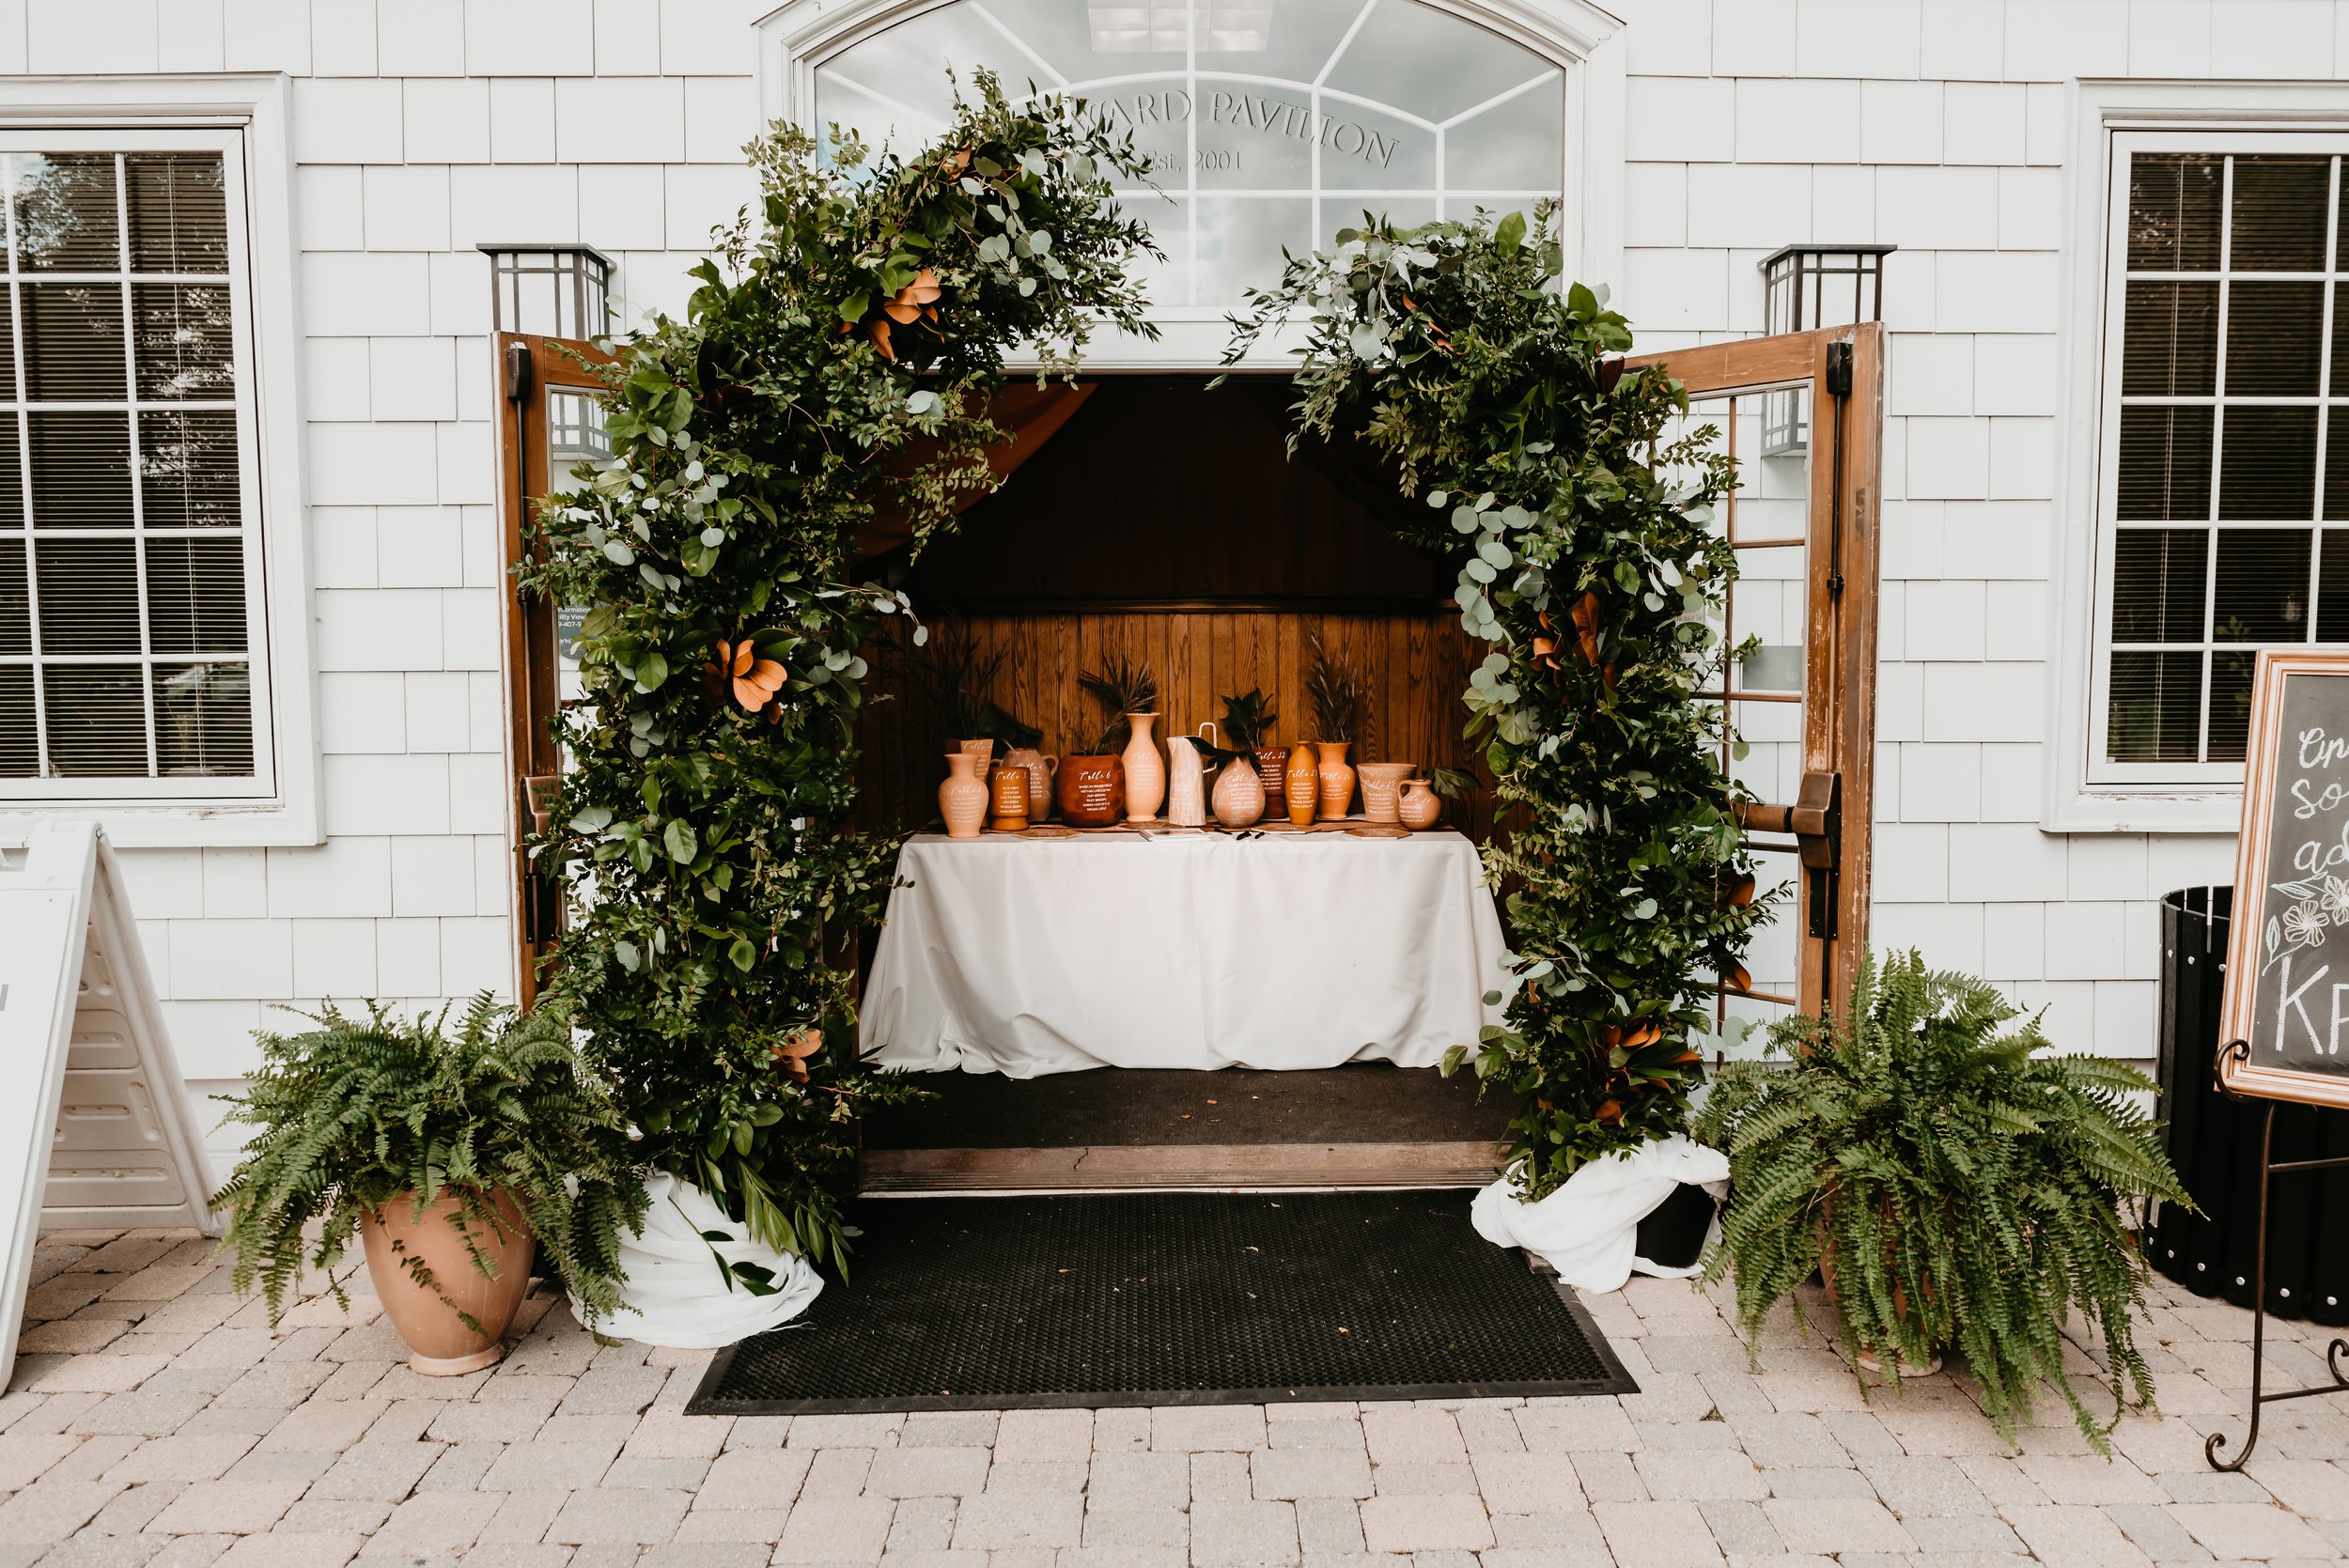
The first time I saw terra-cotta wedding table numbers- I stopped dead in my tracks. Not only was it such a unique idea, but the display was absolutely show-stopping. Of course, I HAD to figure out how it was done! Here’s what my bride, Becky, had to say!
“There is an endless sea of wedding decor ideas to wade through, and deciding how to focus the vision can be one of the hardest decisions. Making a statement right when guests walk through the door was my goal. However, sometimes statement decor can come with a statement price tag- so I dove into a bit of DIY.”
Okay, okay.. I know. You HAVE to know the details on how this was done! Although I’d LOVE to be able to share my own pieces of advice, the truth is I’m just not that crafty. + I have to give credit where credit is due. So… my girl, Becky, will be helping us along the way!
1. Choosing Your Vases
As an Amazon Associate, I earn from qualifying purchases.
Keep your Aesthetic in Mind. Whether you’re looking for a traditional terra-cotta look, or you’re looking for something more modern—the options are endless!
#1: The Modern Approach
You can keep the vases as-is, or you can change it up by purchasing paint to match your color scheme. Here are some fun geometric, vases that I adore from Amazon!
#2: The Traditional Approach
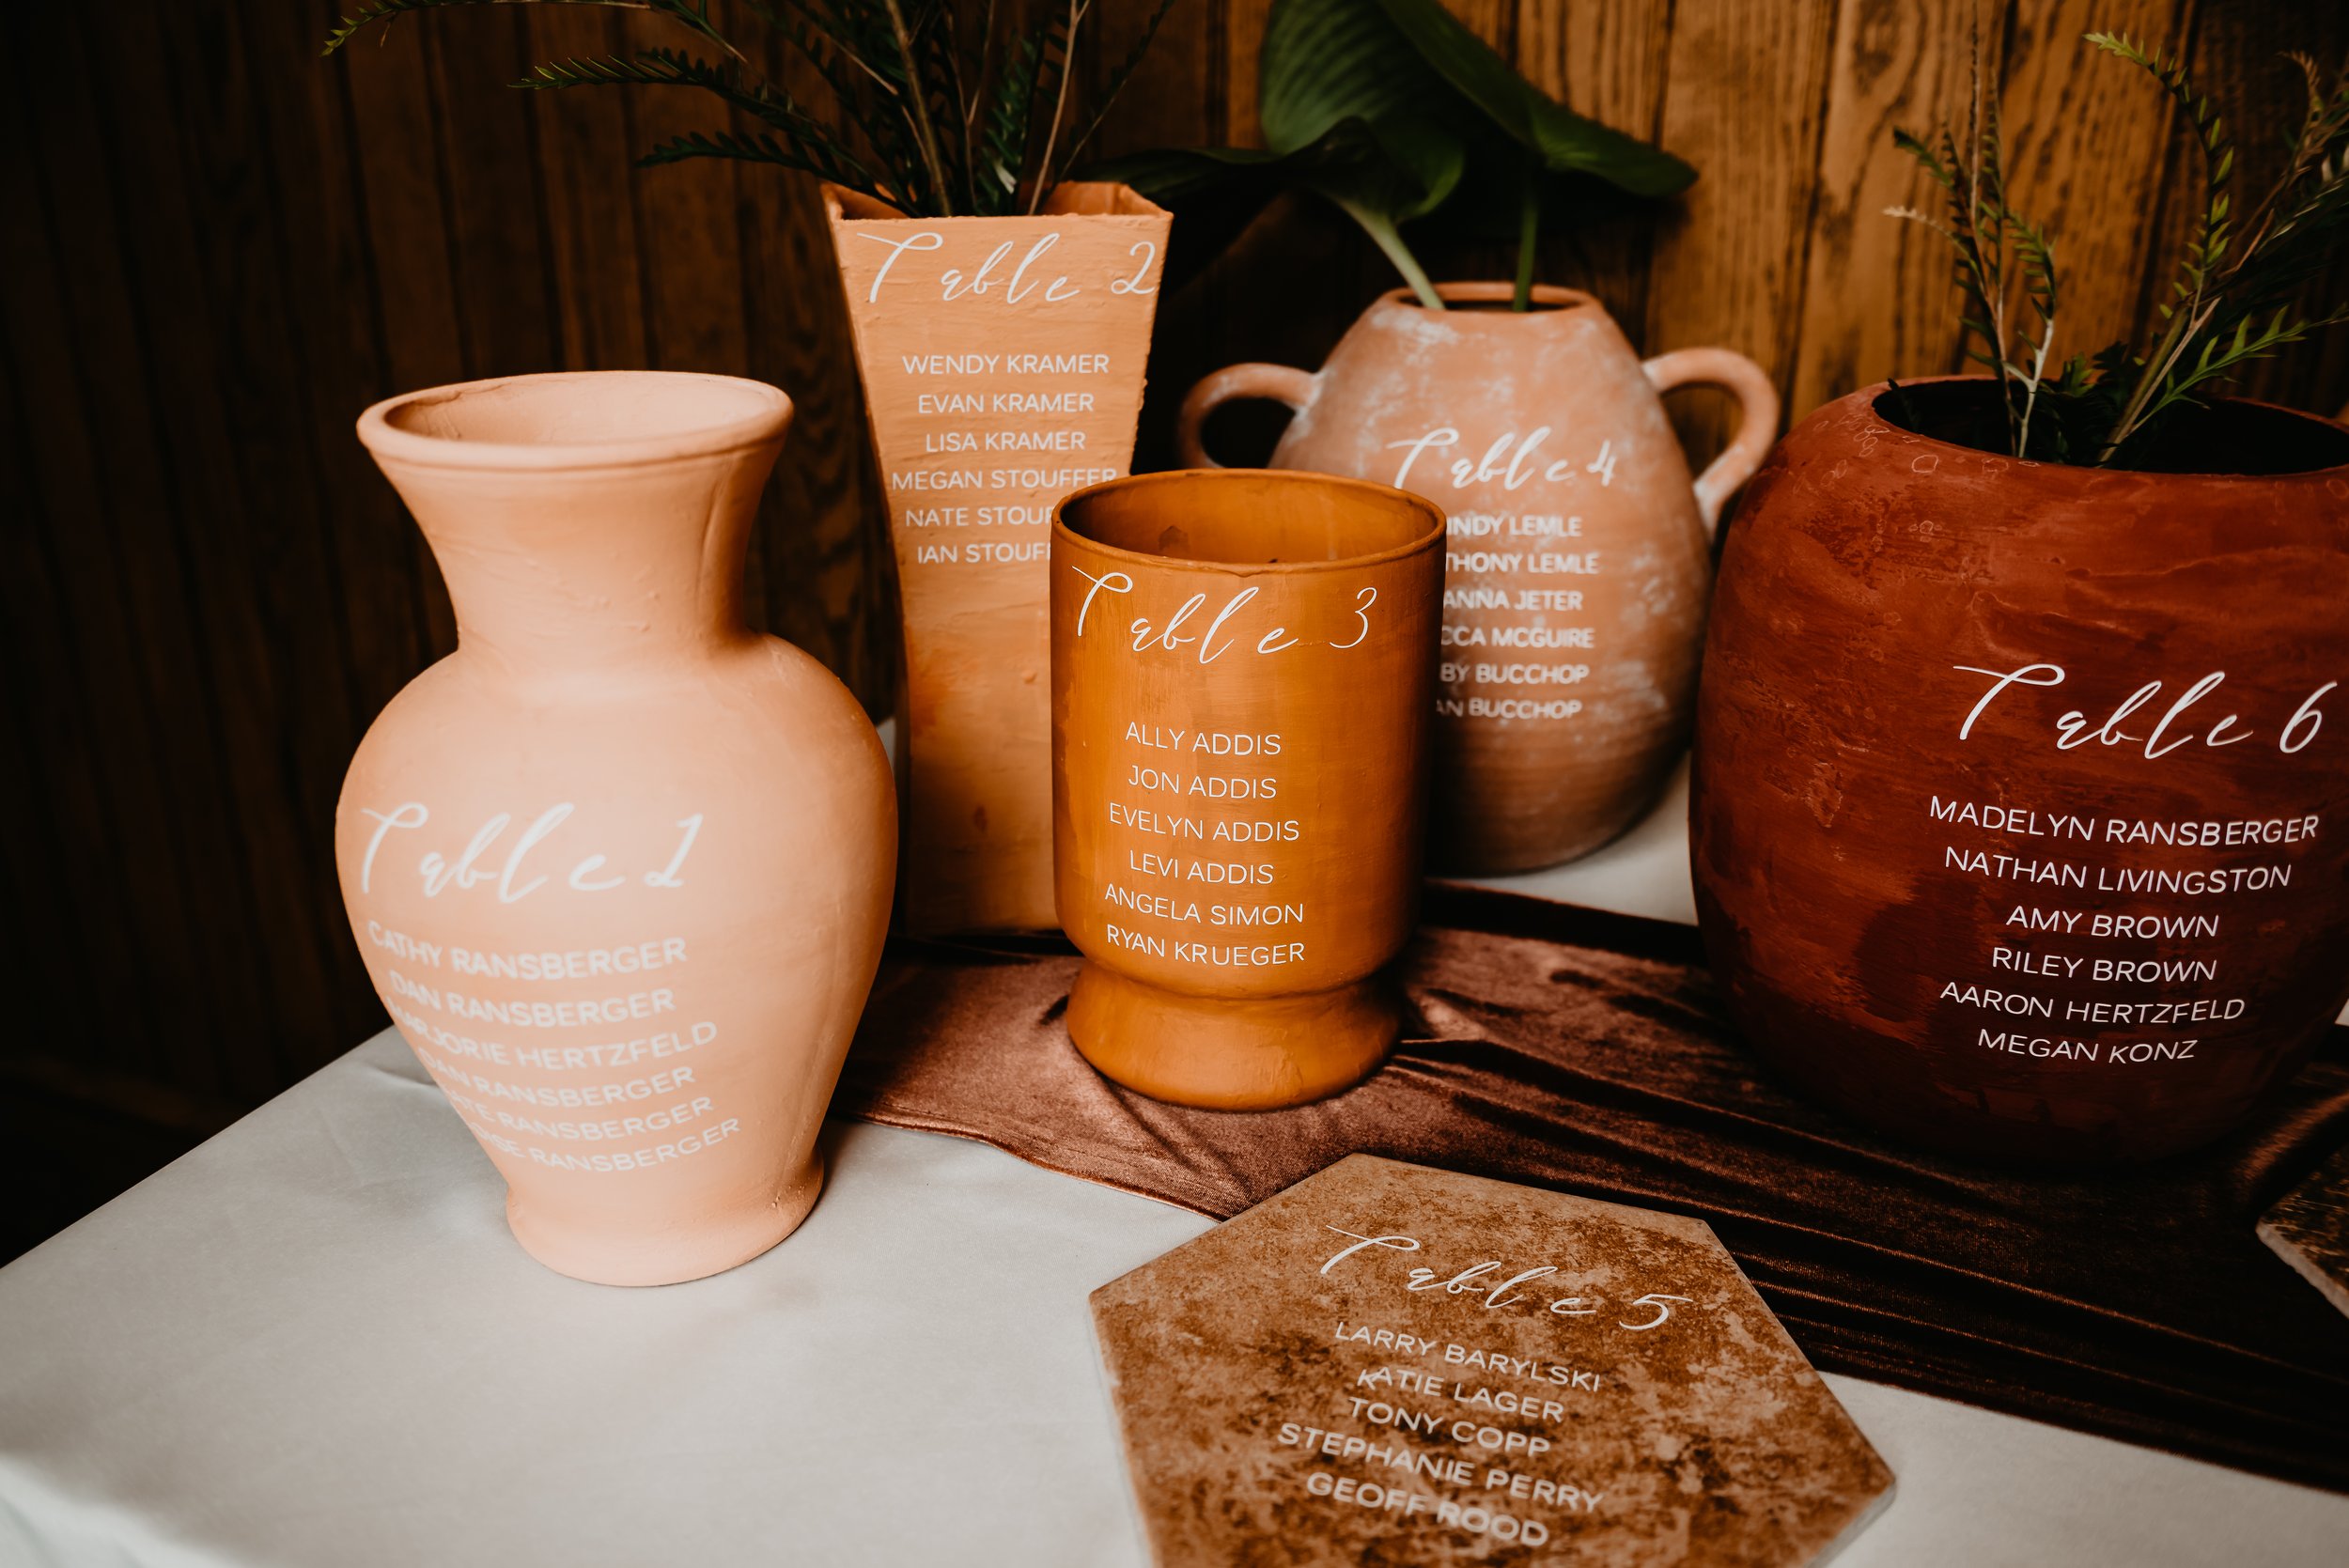
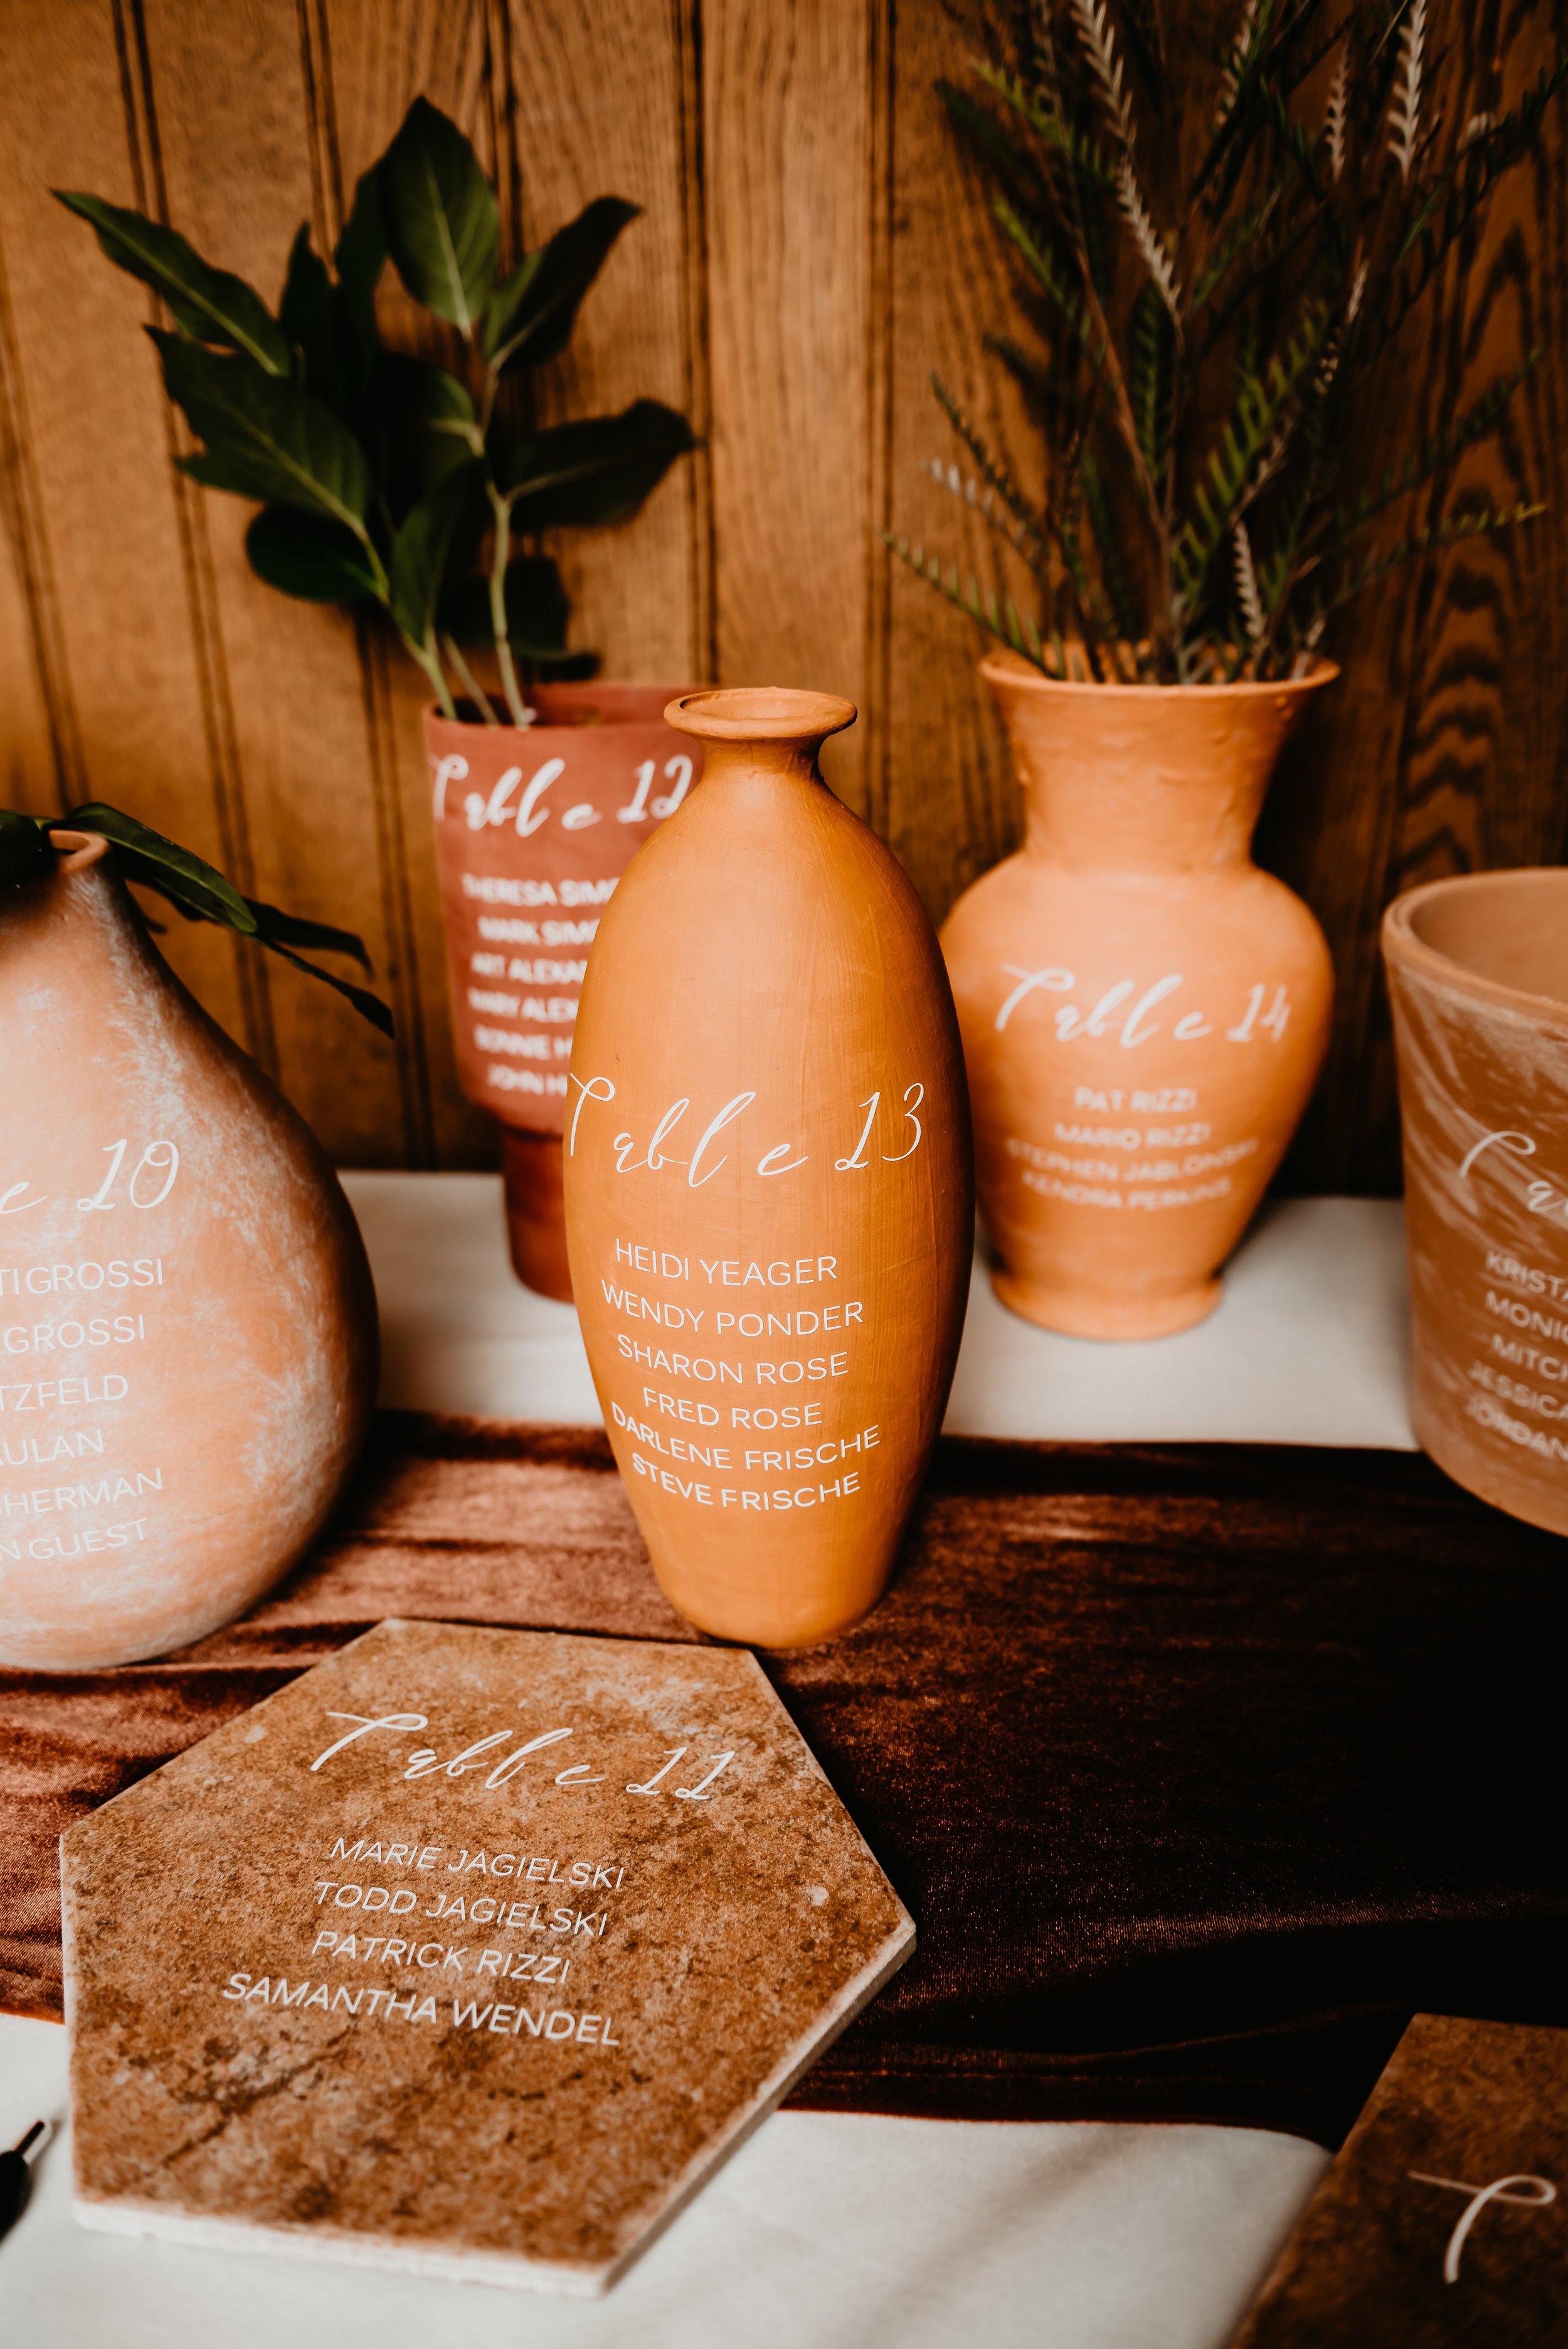
“Finding terracotta vases was very hit or miss- so I found a DIY #trashtoterracotta. I dove in and brought acrylic paint in shades of terracotta and then threw in some rust for contrast. I scoured Goodwill, Dollar Tree, and Hobby Lobby clearance for some cheap and interesting looking vases- I wanted varying height and shapes for interest.”


1. Adding Paint
Add baking powder to acrylic paint and mix until you get a foamy texture
Use a sponge brush to apply to the vase. It takes several coats, and I would recommend sanding your piece beforehand
You can also top off your vase in a matte clear coat
3. Seating Chart
Cricut, hire a hand-painter, or DIY hand- paint
“I have a Cricut and decided to cut the letters from vinyl instead of hand lettering because that is not my strong suit- I think hand lettering on these would be GORGEOUS- but it wasn’t in my budget. Bonus points for being able to peel the vinyl off later and reuse the vases though.
I used Cricut Design Space to make the seating chart lists. (Pro-tip: if the free fonts in Cricut Design Space aren’t your vibe- just use Canva and then import the image that way. Free is a beautiful thing.)
Once I cut the vinyl out I needed to apply the lettering to the vases and this was the tricky bit- the transfer paper I used was way too sticky because of the texture of the paint- so I decided to just smack that transfer tape against some fabric so it wasn’t as difficult to work with. Then I used the burnishing tool to make sure the letters stuck.
If you don’t want to use a Cricut— you can also hand - paint the Table numbers and names, or you can use a stencil to help you out! If that sounds too time-consuming, consider hiring someone to hand-paint your designs for you!
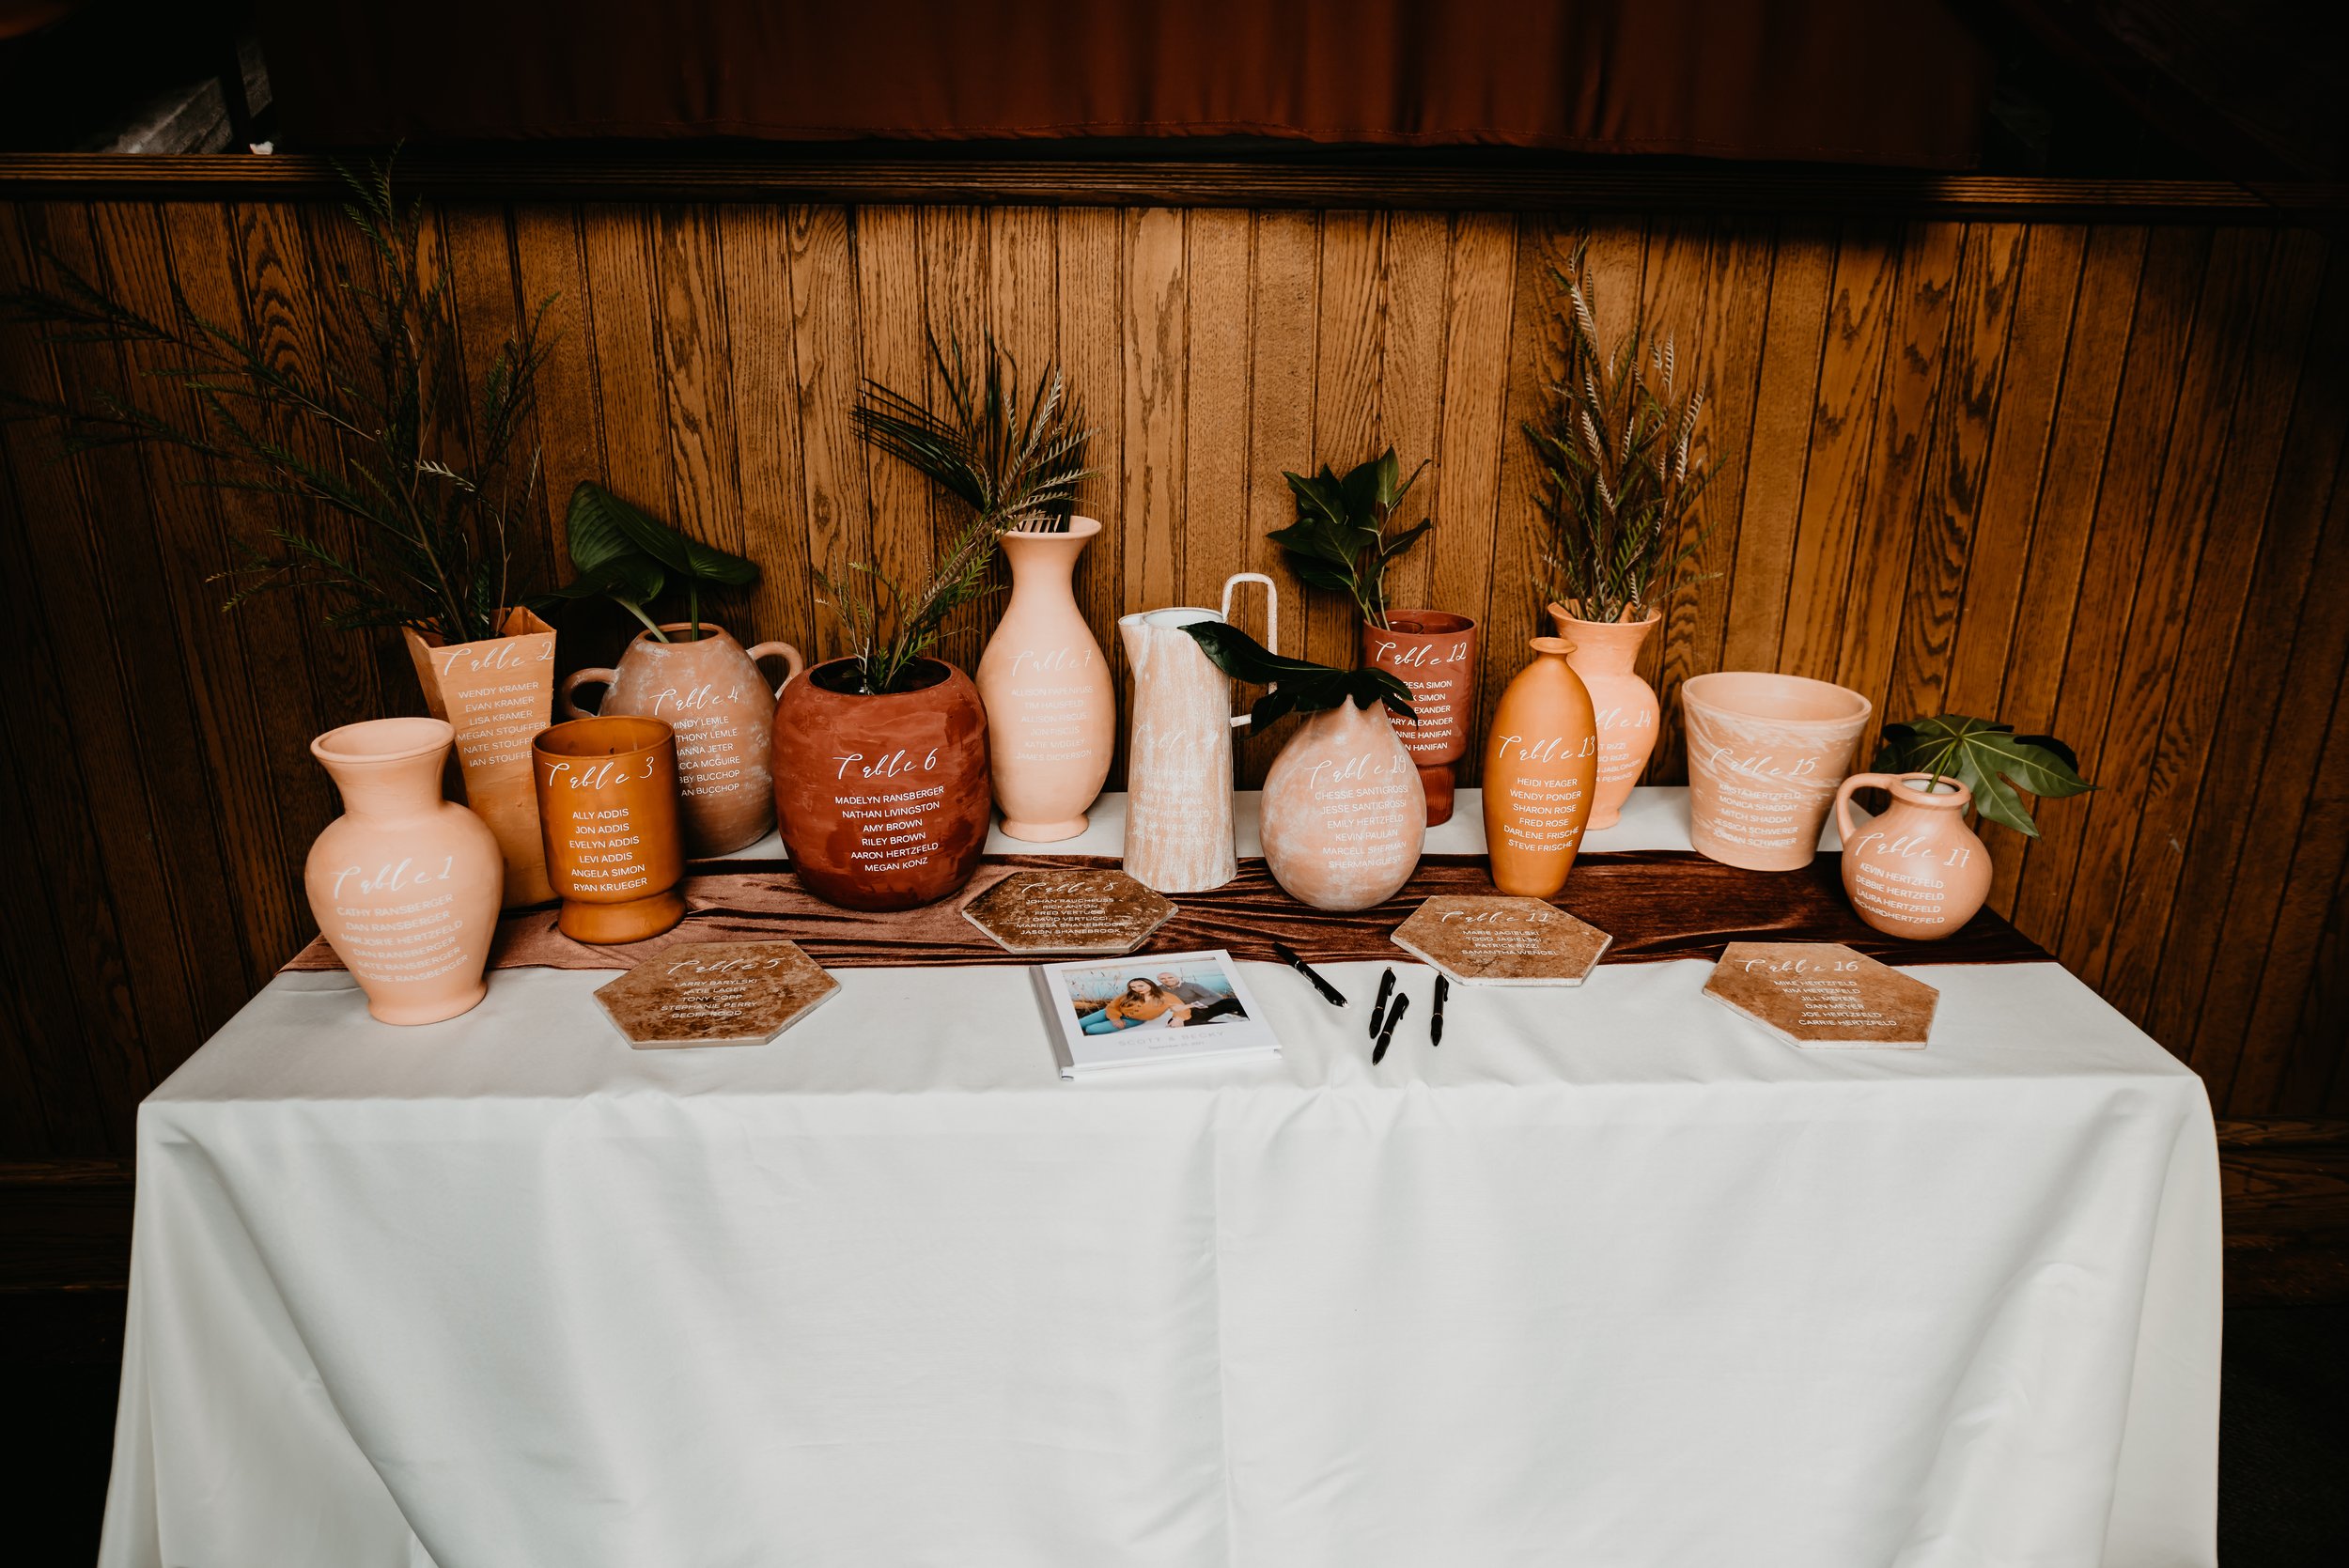
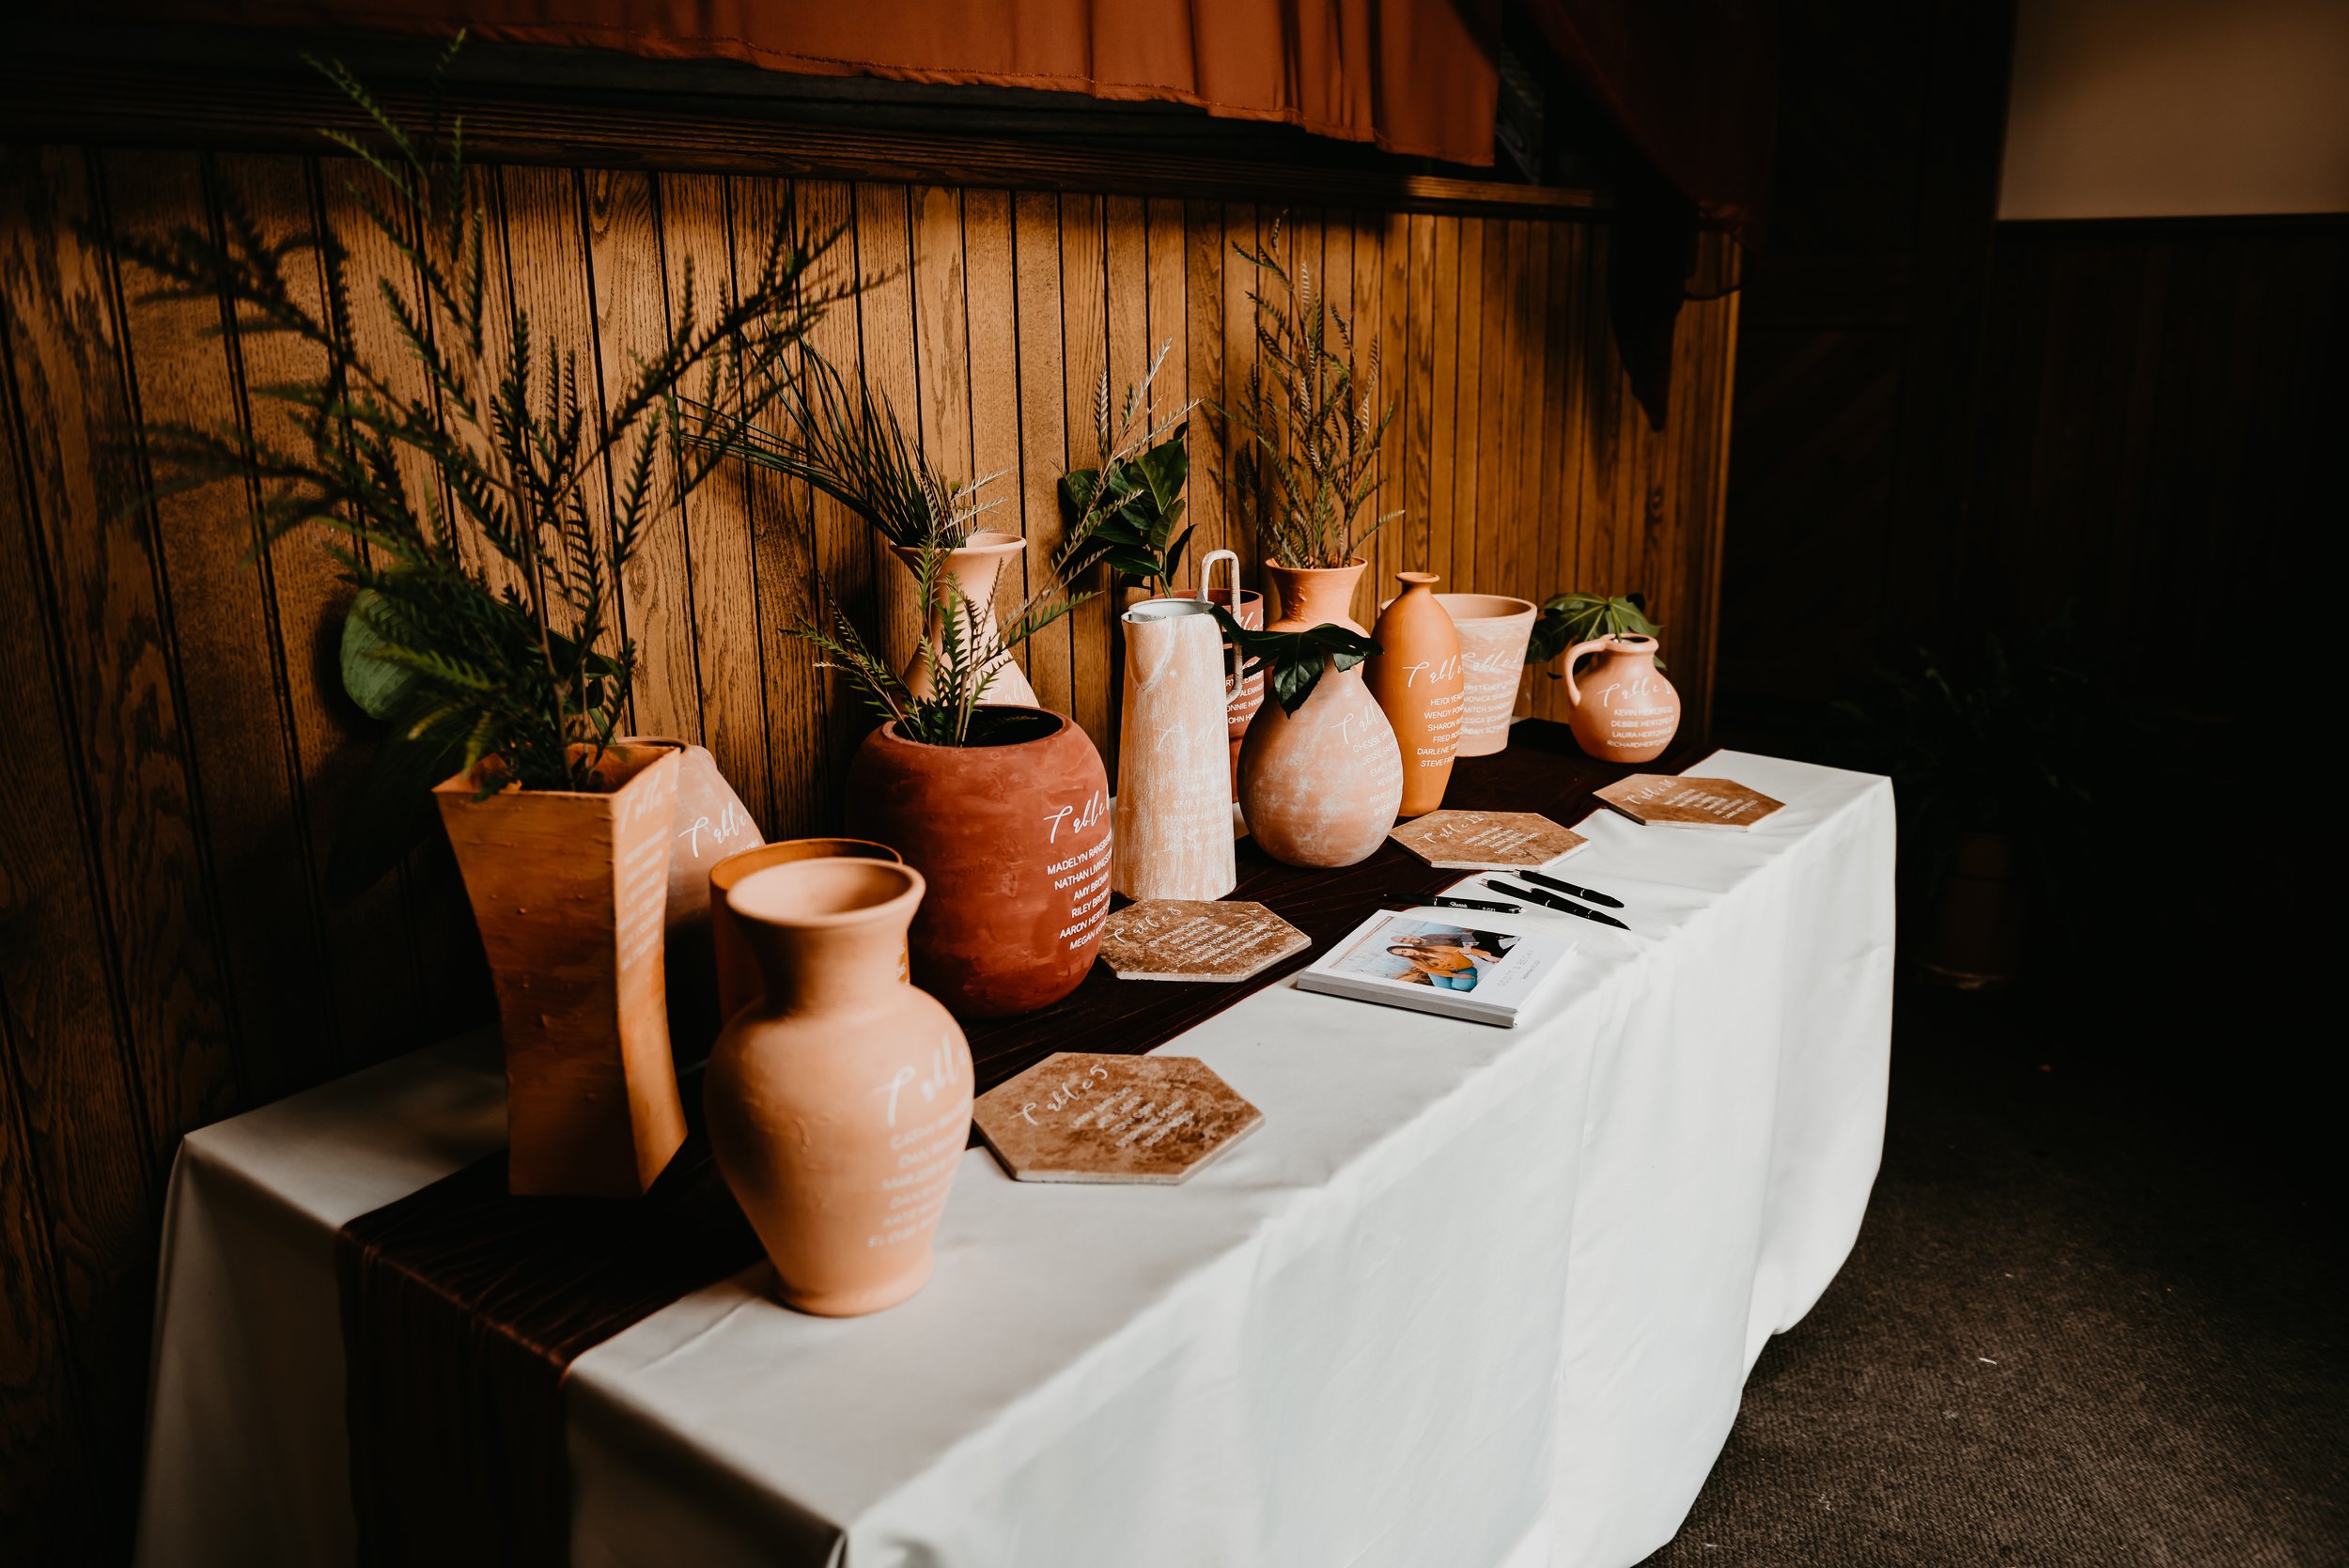
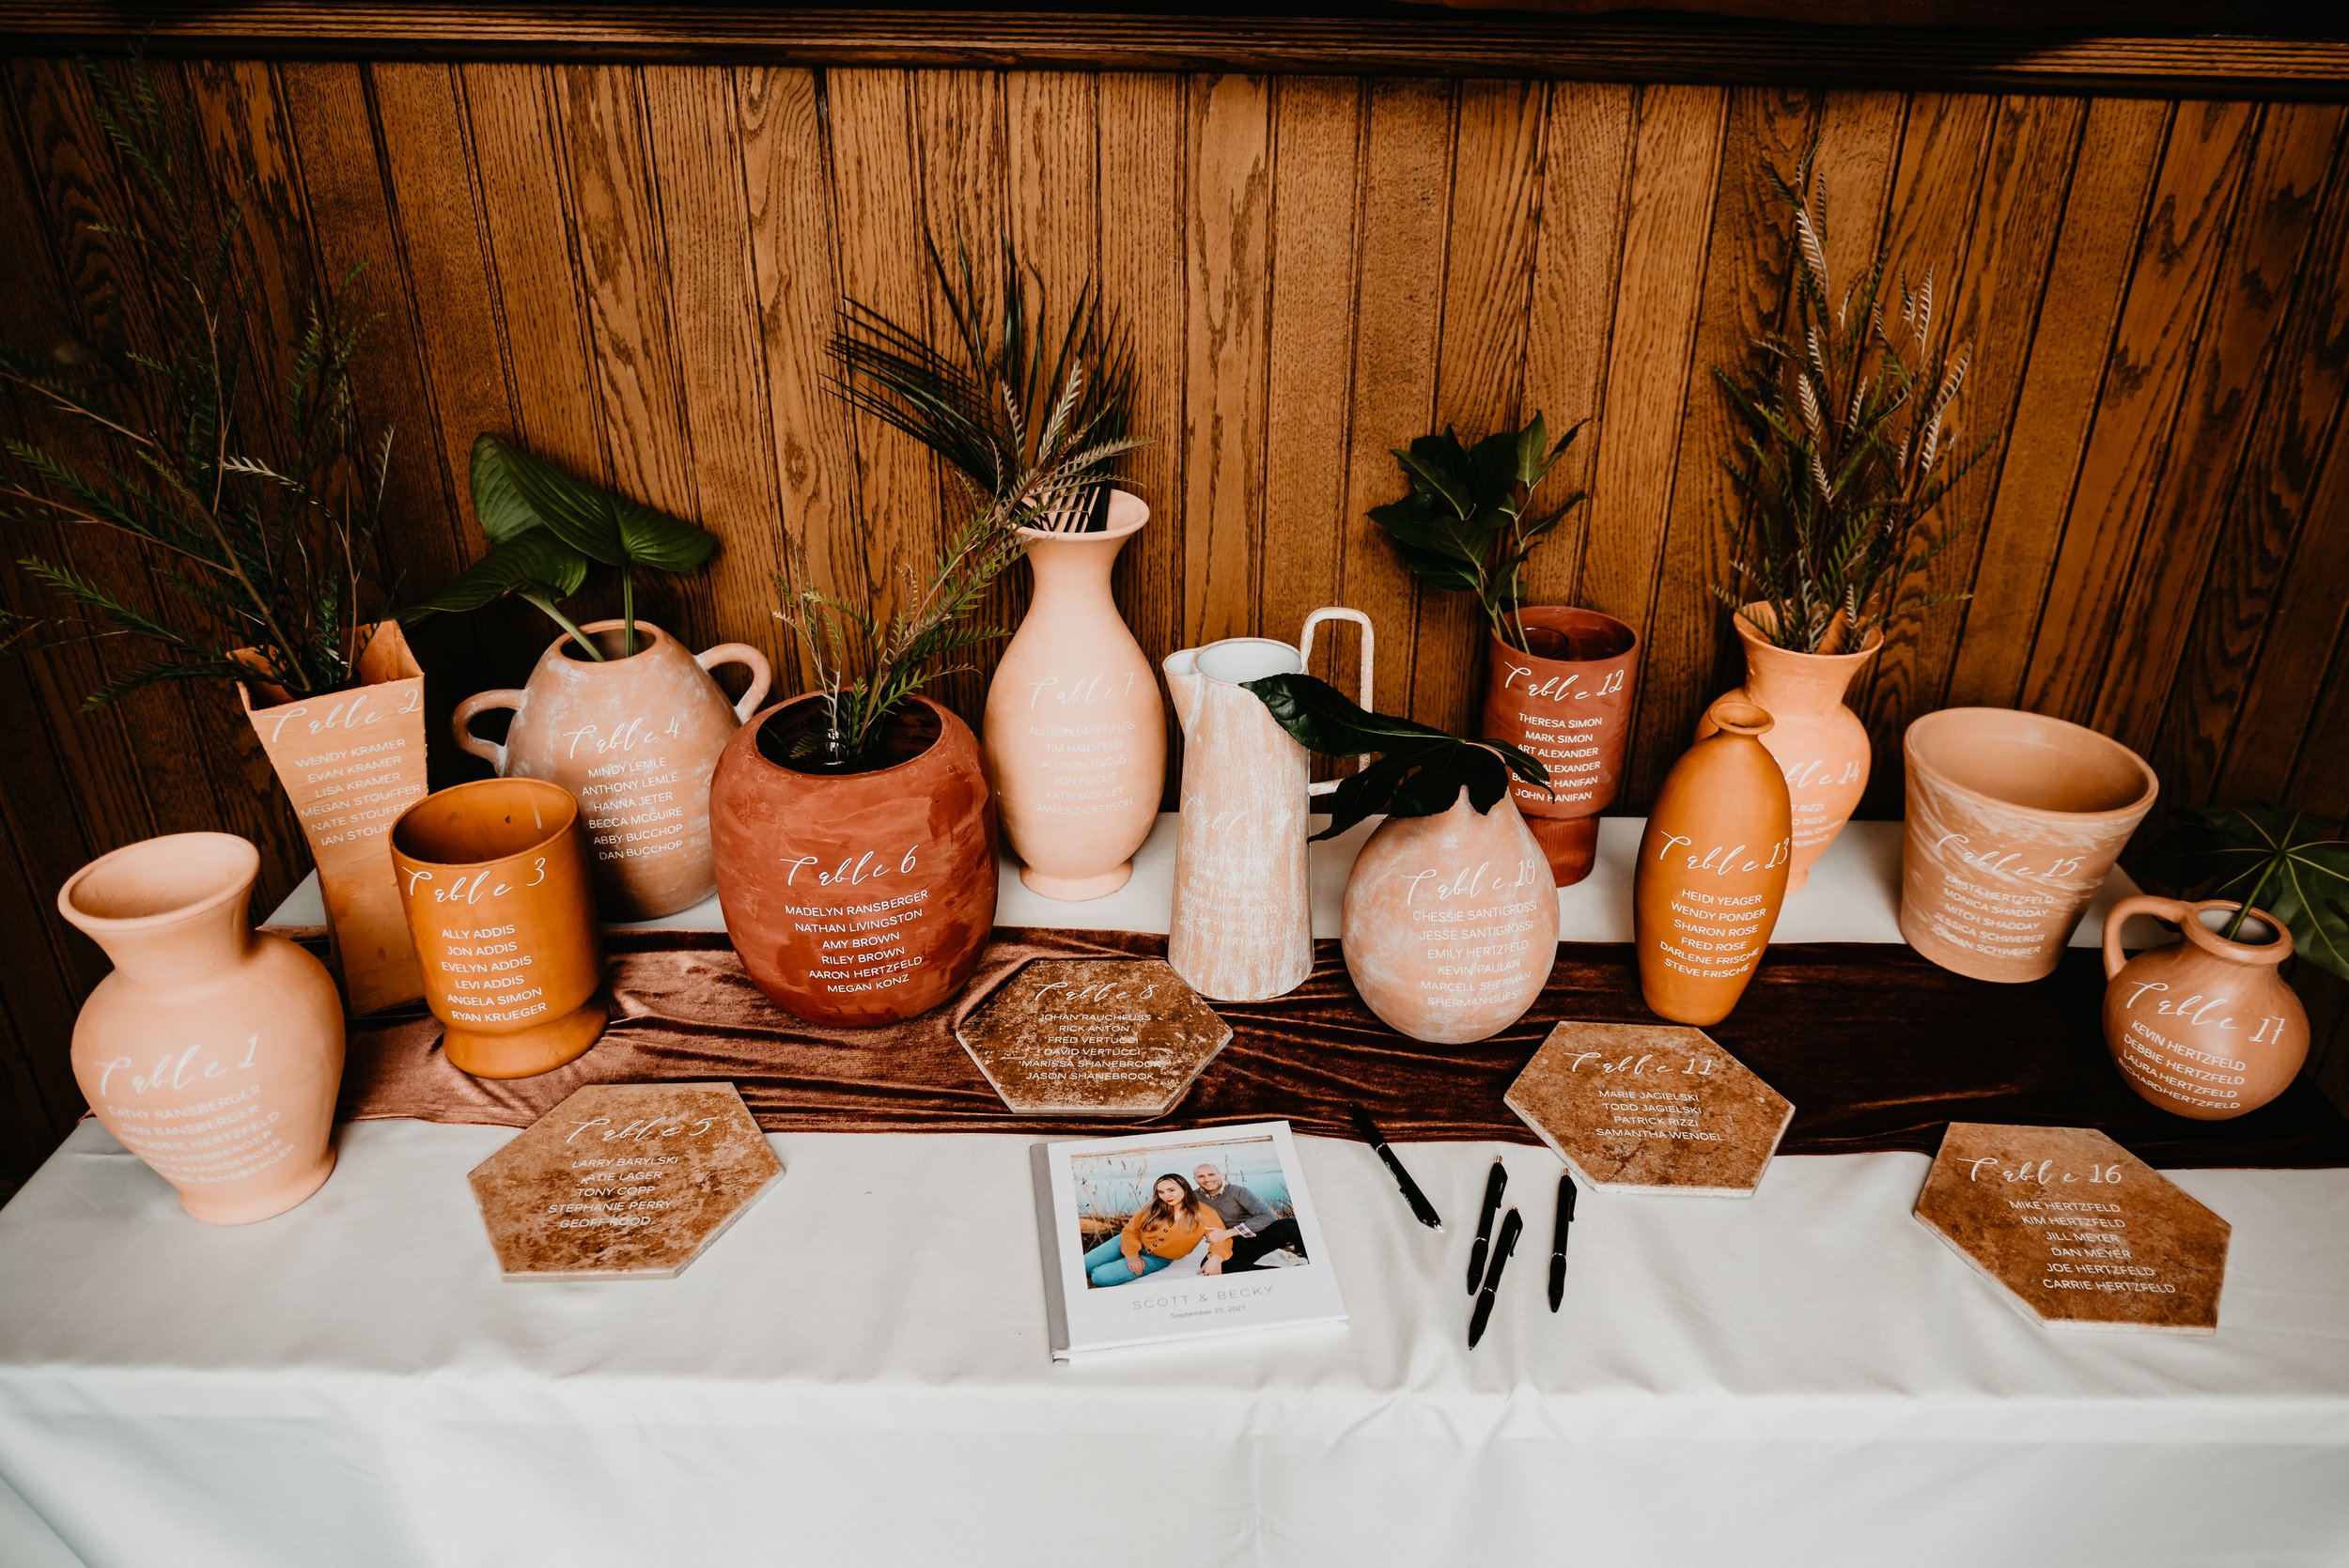
4. Staging
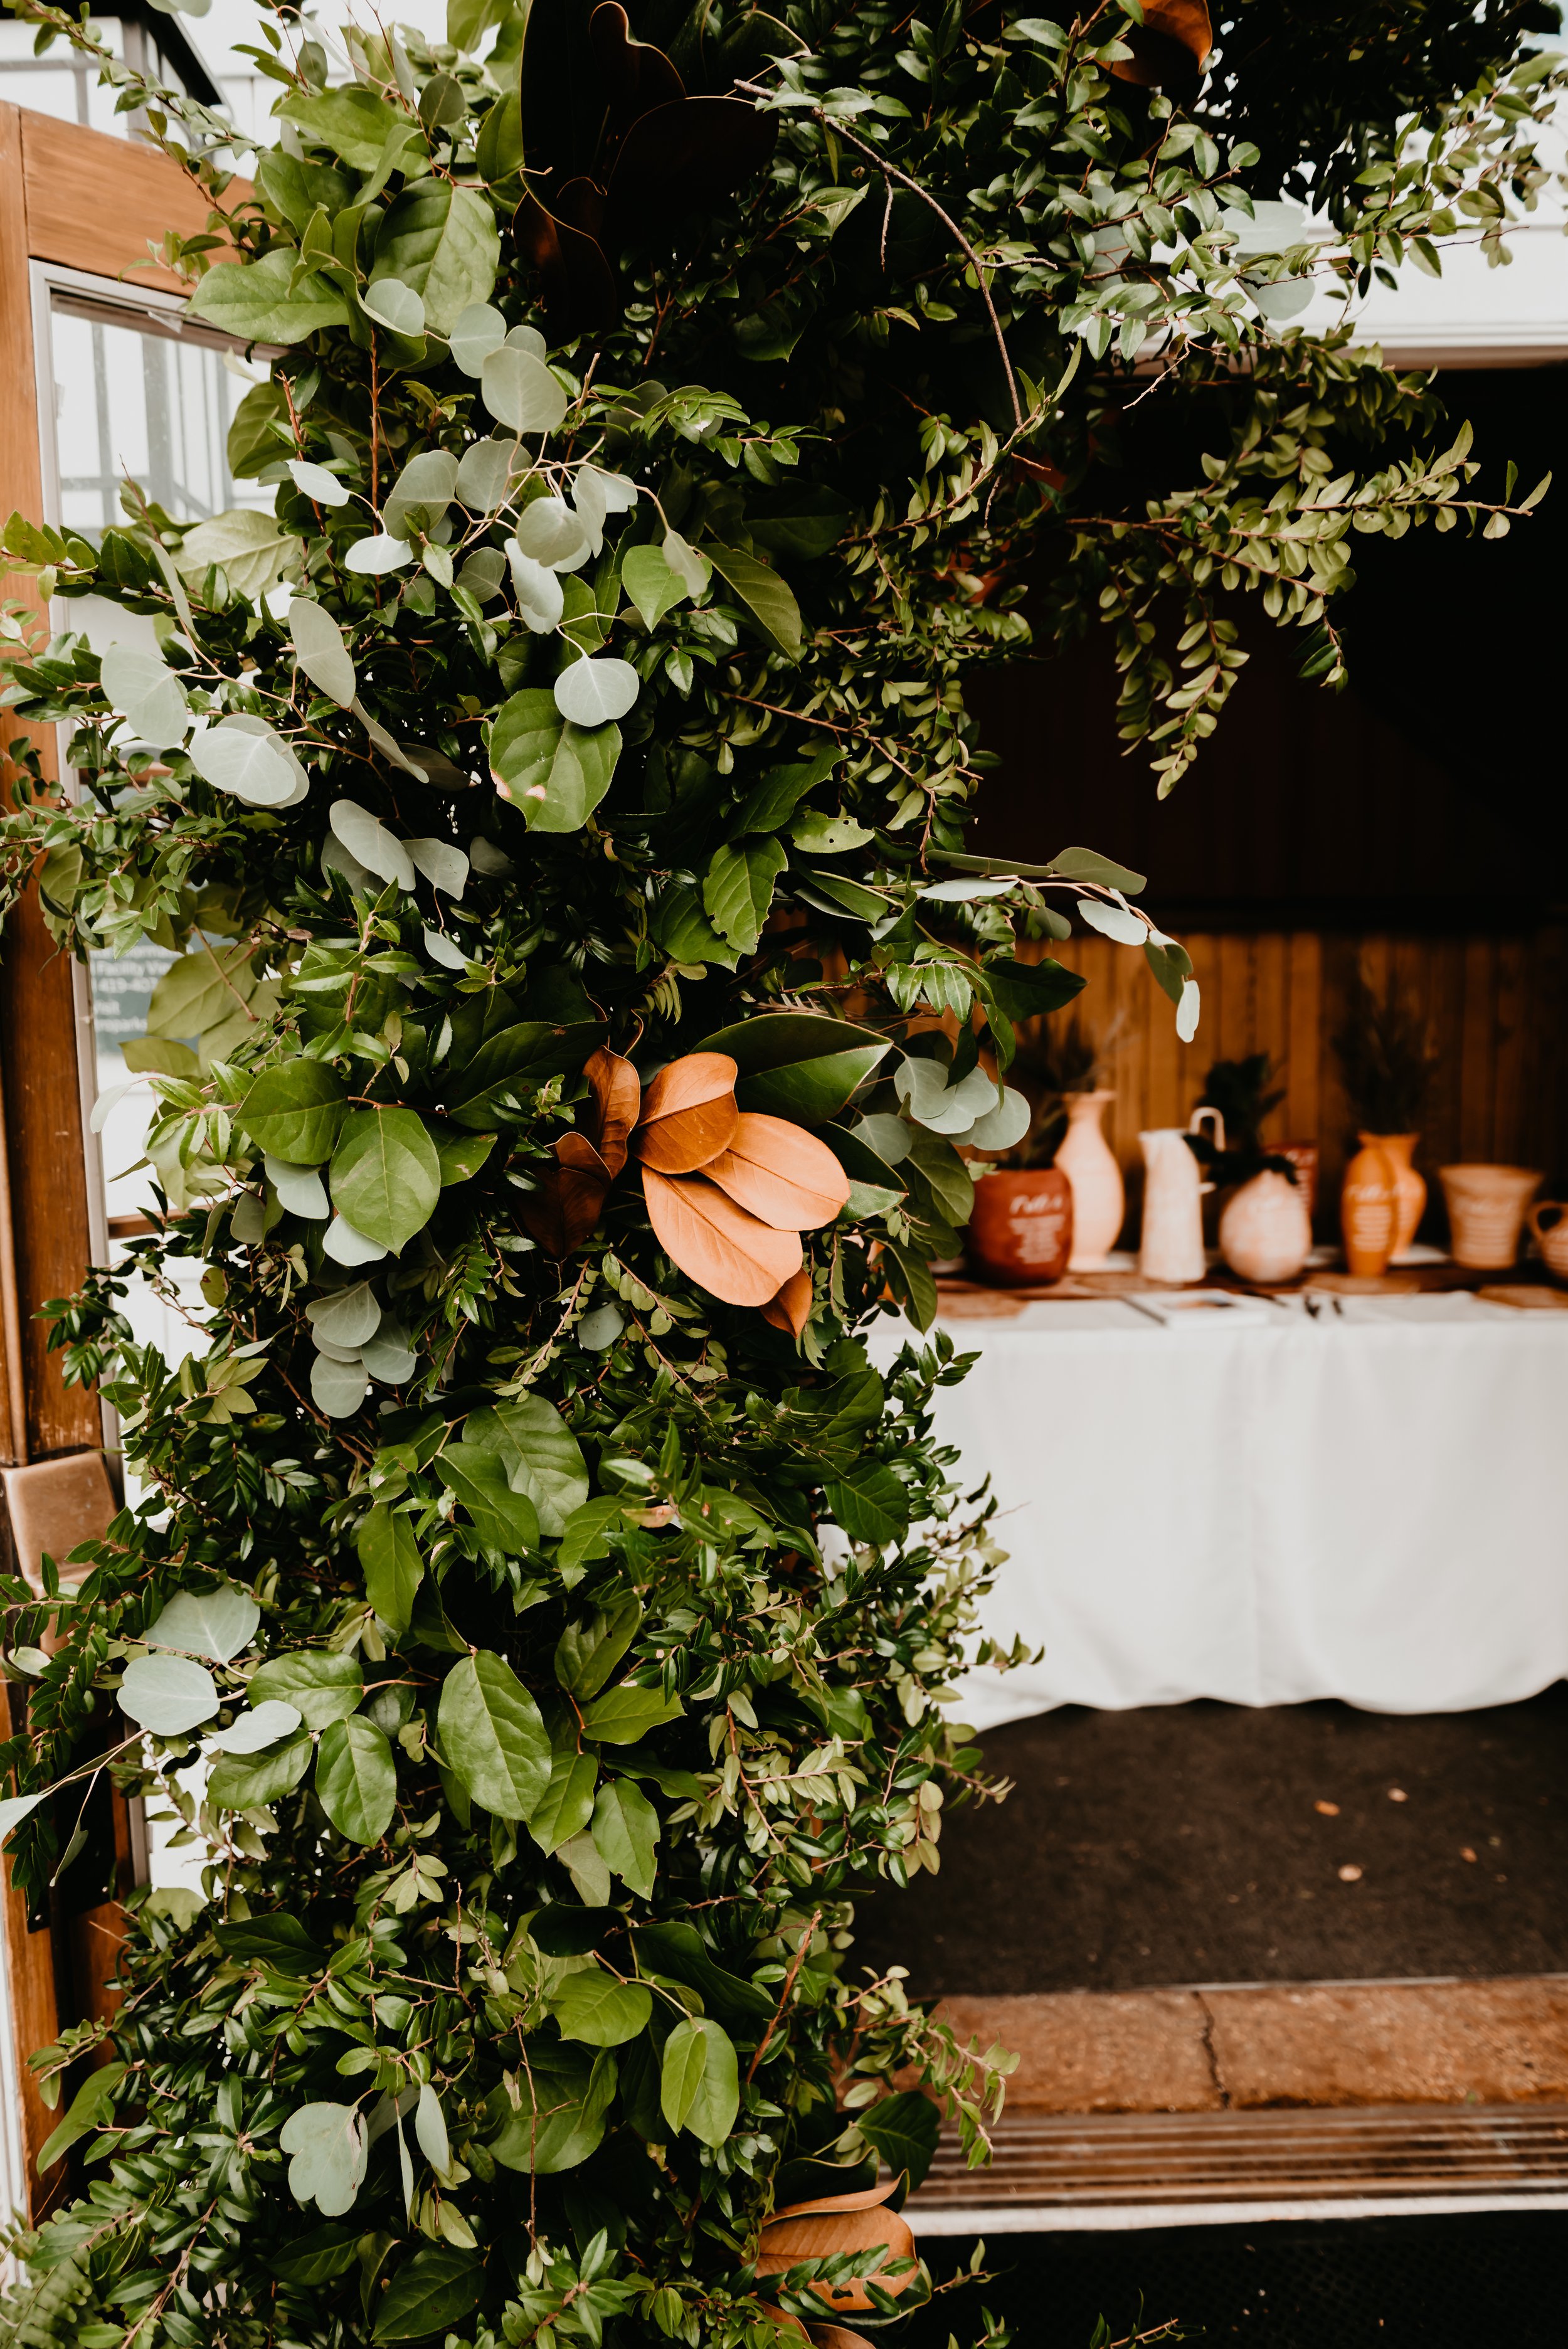
“Then for staging I used various sheer fabrics as a background, a velvet runner over our tablecloth for texture, and added greenery. Bless my mother’s heart for having a beautiful garden and then chopping it up for the sake of my wedding; and bless Gardenview Flowers for their stunning wedding arch that framed our entryway and their gorgeous monstera leaves.”
You can add anything to match your aesthetic into your vases! Becky used plants from her mother’s garden, another bride purchased additional florals from her florist, or you can even add in your own ideas!
The Modern Approach
If you went for a more modern, all white approach with geometric vases— you could consider leaving them empty. If you love the idea of filling the vases to give the space a more full look, check out some of these gorgeous pieces!
5. Enjoy creating your gorgeous DIY wedding table numbers!

Ready to take the plunge& see the full pricing guide + chat about custom wedding collections?!
Reach out, I already can’t wait to hear from you!